Unified Preference Centre
Summary
Cortex offers a preferences service that enables you to capture, store, and manage fan preferences. This includes handling formal requirements for data usage - such as GDPR compliance - as well as gathering insights about individuals to personalise their experiences.
Table of contents
- Introduction
- Preferences API
- Example JSON response
- Preference field descriptions
- Set or update fan preferences
- Preferences in Cortex
Introduction
When a fan creates a new account, they may be asked to provide personal details and select their preferences. These preferences fall into two categories:
- Compliance-related preferences, such as marketing opt-ins/opt-outs and GDPR consent.
- Personal interests, like selecting a favourite team or player.
These selections are sent to the server via the Preferences API and stored in Cortex, where they can be configured and updated as needed. The stored preferences can then be used to personalise experiences - for example, tailoring webpage content or delivering targeted email campaigns.
This document covers the preferences endpoint and its JSON responses, as well as how to access and manage preference data within Cortex.
Preferences API
Please see API Reference for full Preferences API documentation.
The client-preferences endpoint communicates with the Cortex preferences service.
Note:
In the following API constructs, the fields that require populating are in
{curly-brackets}. Remove these brackets when populating these fields.
To fetch all client preferences data, the API call is constructed like this:
GET {preferencesCentreUrl}/v1/clients/{clientId}/client-preferences
In which:
preferencesCentreUrlis the URL for stage (test) or production (live).- Stage: https://preferences-stage.cortextech.io
- Production: https://preferences.cortextech.io
clientIdis your client ID, assigned during onboarding. This can also be found in the Cortex platform.
So, for example, this call:
https://preferences.cortextech.io/v1/clients/DEMO/client-preferences
Fetches a list of all the preferences set up within the client ID: DEMO.
Note: Requests made on behalf of a fan may or may not include their authentication token. If a request is made with a token, it will return details of the fan's past selections; otherwise, null values will be returned instead.
Get client preferences by key
Each preference is assigned a unique identifier, called a key. The value of this key can be used to retrieve an individual preferences associated with the specified key.
So, this call:
https://preferences.cortextech.io/v1/clients/DEMO/client-preferences/favouritePlayer
Fetches the preference with the key: favouritePlayer
A typical use case for this would be to use this key to deliver a resonant article or product advertisement, or even a colour scheme or style to all the followers of a particular team or player.
Example JSON response
An example JSON response is as follows:
{
  data: [
    {
      clientId: "DEMO",
      deprecated: false,
      id: 100,
      name: "Favourite player",
      description: "Choose your favourite player to stay up to date",
      key: "favouritePlayer",
      set: true,
      options: [
        {
          deprecated: false,
          id: 3672,
          index: 1,
          value: "Player Name 1",
          linkedIds: [
            {
              sourceSystem: "OPTA_FOOTBALL_PLAYER",
              sourceSystemId: "96454",
              text: "Mary Earps",
            },
          ],
          metadata: {
            colour: "blue",
          },
          selected: true,
        },
        {
          deprecated: true,
          id: 3673,
          index: 2,
          value: "Player Name 2",
          metadata: null,
          linkedIds: null,
          selected: false,
        },
      ],
    },
  ];
}
Preference field descriptions
This section details the content in the JSON response for a preference, including an example of a JSON response file.
Field | Type | Description |
|---|---|---|
| String | Your client ID, assigned during onboarding. |
| String | The name of the preference, set by the Name field in the Fan Preferences section of Cortex. This is a mandatory field in Cortex. Typically, the name would be used to label the preference. For example “Favourite player”. |
| String | The description of the preference, set by the Description field in the Fan Preferences section of Cortex. This is an optional field in Cortex. Typically, the description would be used as a secondary label of the preference. For example “Choose your favourite player to stay up to date”. Where both name and description are used, typically the name will be shorter heading-style text and the description would be more detailed paragraph-style text. For example: Favourite player - Choose your favourite player to stay up to date |
| String | A unique identifier of the preference. It’s defined in Cortex, where it is mandatory, and cannot be edited once it is saved. |
| Boolean | An indication of whether or not the preference has been set for a given fan. |
| Array | The set of options within this preference. Each option includes fields as per the table rows below. |
| Integer | A unique identifier for the preference option. |
| String | Further nested child menu items of this menu. This is an optional field, omitted or ‘null’ if not populated. |
| Boolean | An indication of whether or not the preference option has been selected for a given fan. |
| Object | Metadata within this preference option.
Each option may include standard metadata fields as per the table rows below. Additionally, custom metadata fields can be added in Cortex, consisting of key-value pairs. For example, in Cortex, you might add metadata with a key of colour and a value of red. This would then output |
| Boolean | This should be used as a flag to hide the option from new users. Where the current fan has selected this option, you might choose to display it. |
| Integer | This should be used to define the sort order of the options. |
| String | Currently there is only value that can appear here. |
| String | Used to indicate the preferred visual style of the field. Possibilities include |
Set or update fan preferences
When a fan registers for an account, they are asked to provide their personal details, marketing and other preferences. The format is up to you, and is dependent upon your services and the data you would like to gather. As they submit their choices, the preferences endpoint can be used to set (POST) or update (PUT) a fan's preference options by submitting them along with selected option IDs. Fans retain the flexibility to leave a preference without any selected IDs if they choose.
POST {{preferencesCentreUrl}}/v2/clientpreferences
Required Headers
| Key | Value | Required |
|---|---|---|
Authorization | Bearer <JWT> | Y |
Content-Type | application/json | Y |
{
  "preferences": [{
    "key": "favouriteTeam",
    "selectedOptionIds": [
      3672,
      3673
    ]
  }]
}
Send Preferences Link
When a fan is contacted via an email account collected within a CRM, Anonymous preferences can be stored relating to this user without the fan having an SSO account.
POST {{preferencesCentreUrl}}/v1/preferences/link?clientId={{clientId}}
Required Headers
| Key | Value | Required |
|---|---|---|
Authorization | Bearer <JWT> | Y |
Content-Type | application/json | Y |
{
    "email": "[email protected]"
}
Preferences in Cortex
The preferences offered and set by fans are stored in Cortex. they can be accessed and edited in Cortex via two areas: Fan preferences, and Fan manager.
Fan preferences
The Fan preferences interface is where you can view, setup and edit the preference options that you would like to offer to fans.
- In the menu on the left-hand side of your Cortex home page, scroll down and under the Data & Marketing tab, click Fan Preferences.
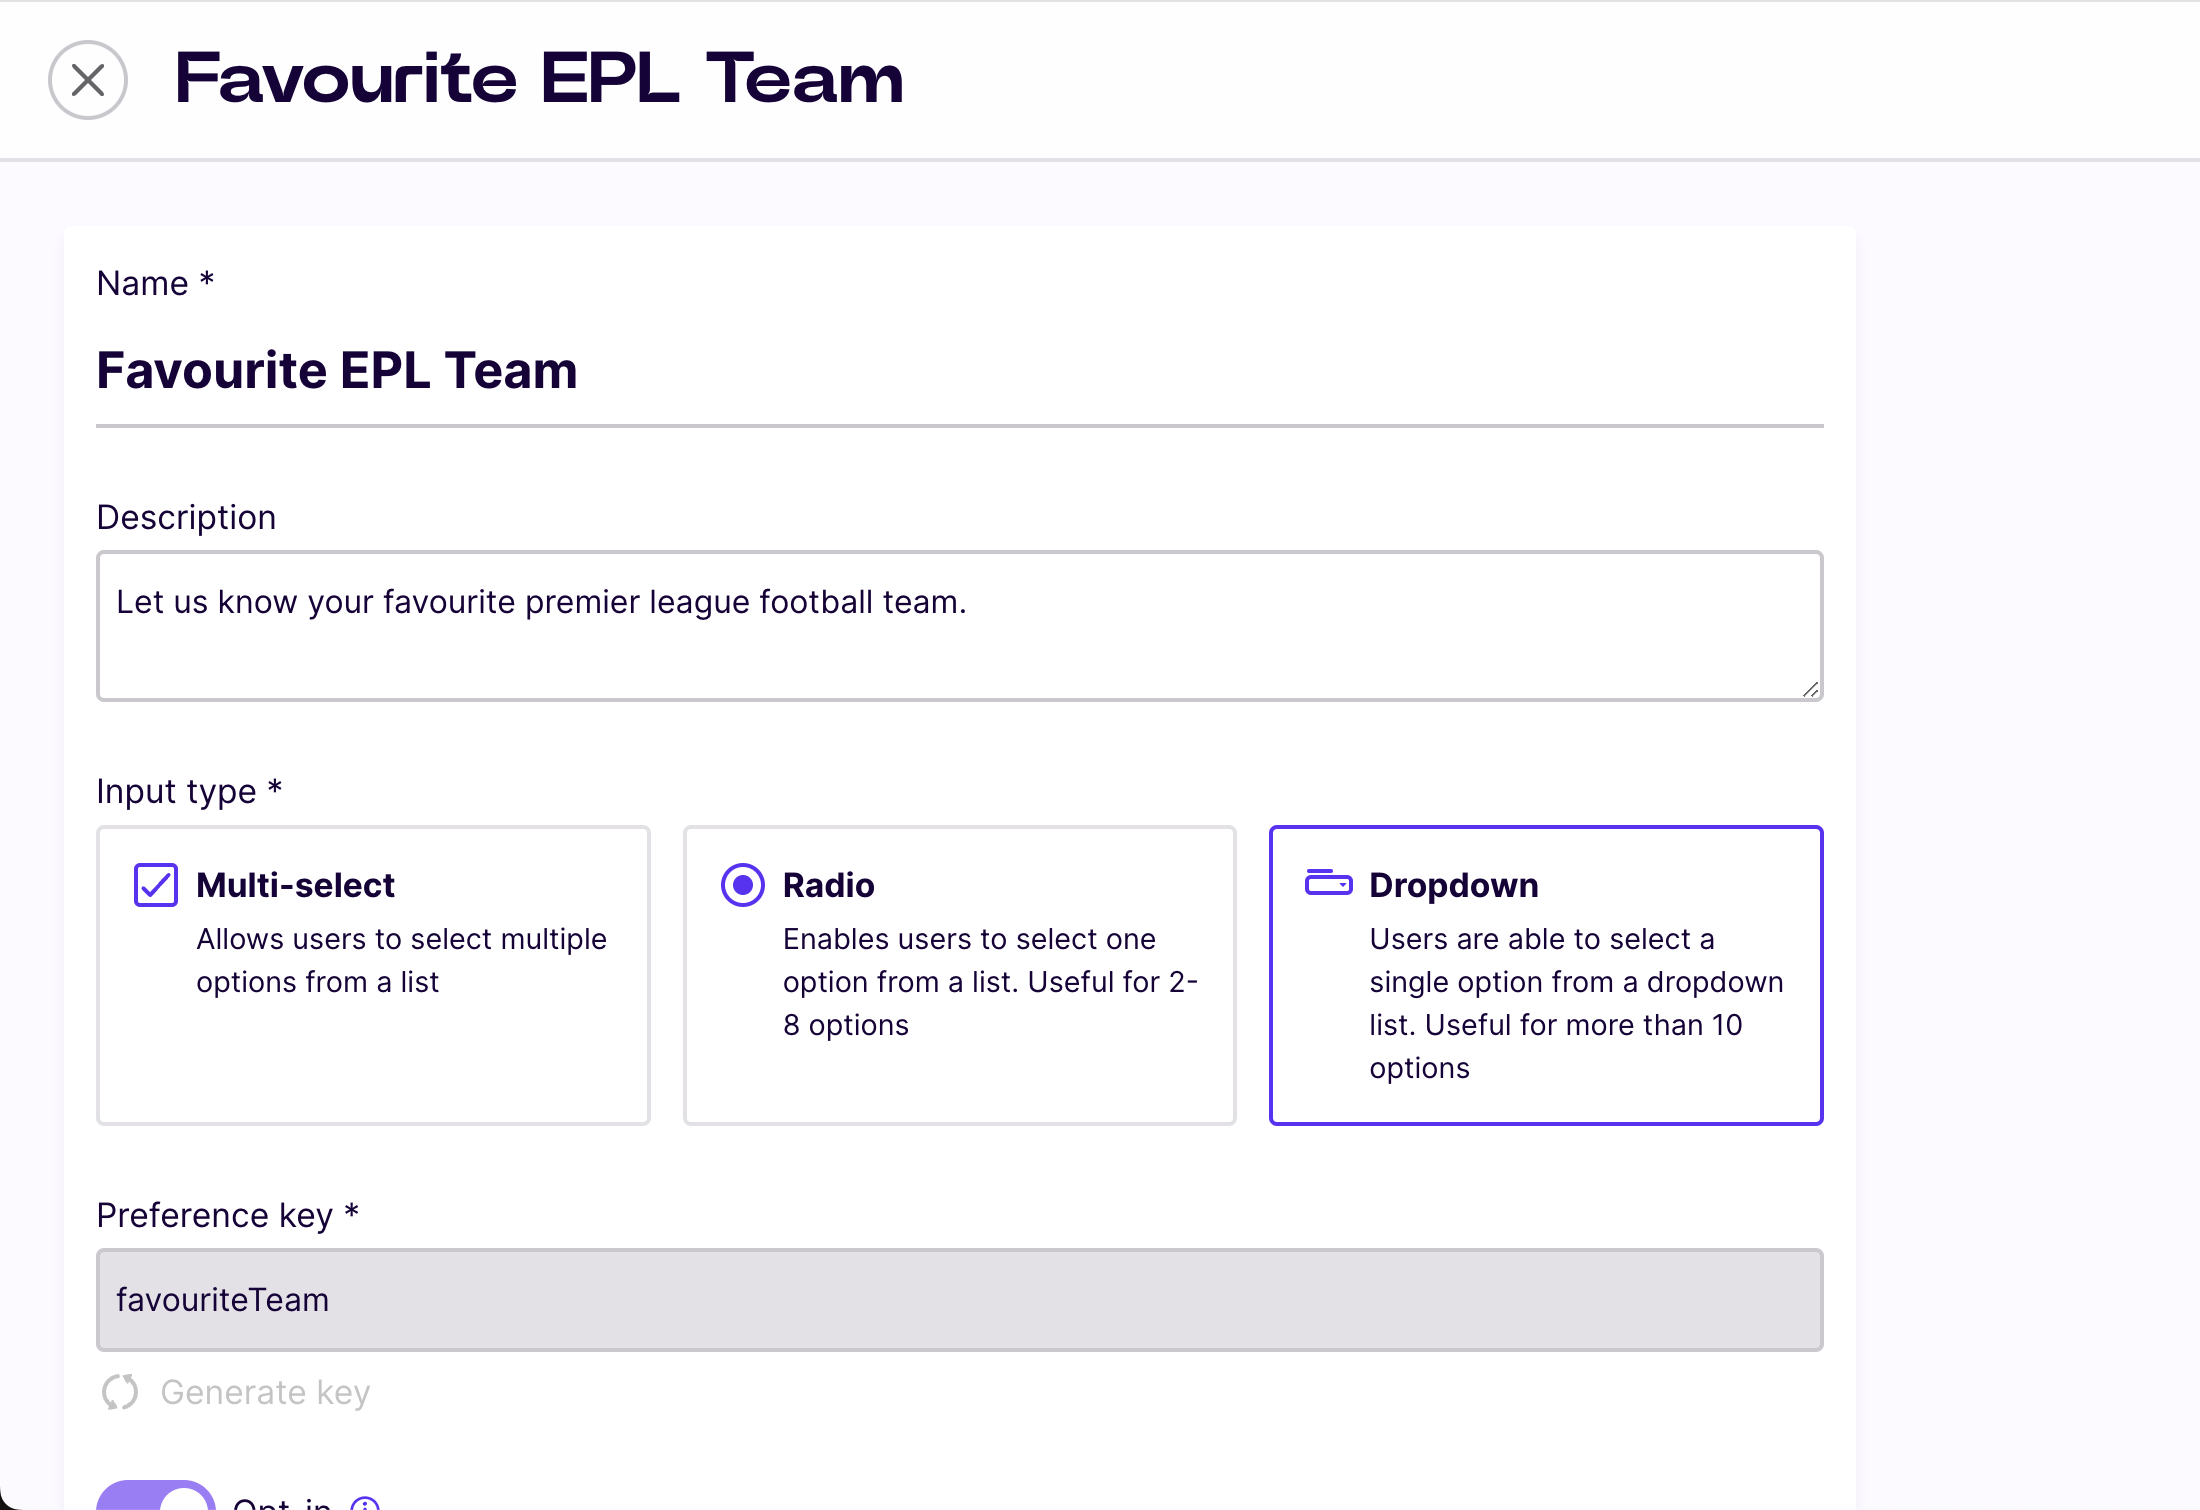
- You are presented with a list of all the preferences that have been set up. Select the preference you would like to open by clicking on its line entry. The preference edit page is opened. Here is an example.

- Within the preferences edit page, you can assign the preference a Name and Description, set the rendering method for the fan to enter their Input values (multi-select, radio buttons or dropdown list), set (or automatically generate) your Preference key (the unique ID for this preference), and toggle the opt-in flag on or off.
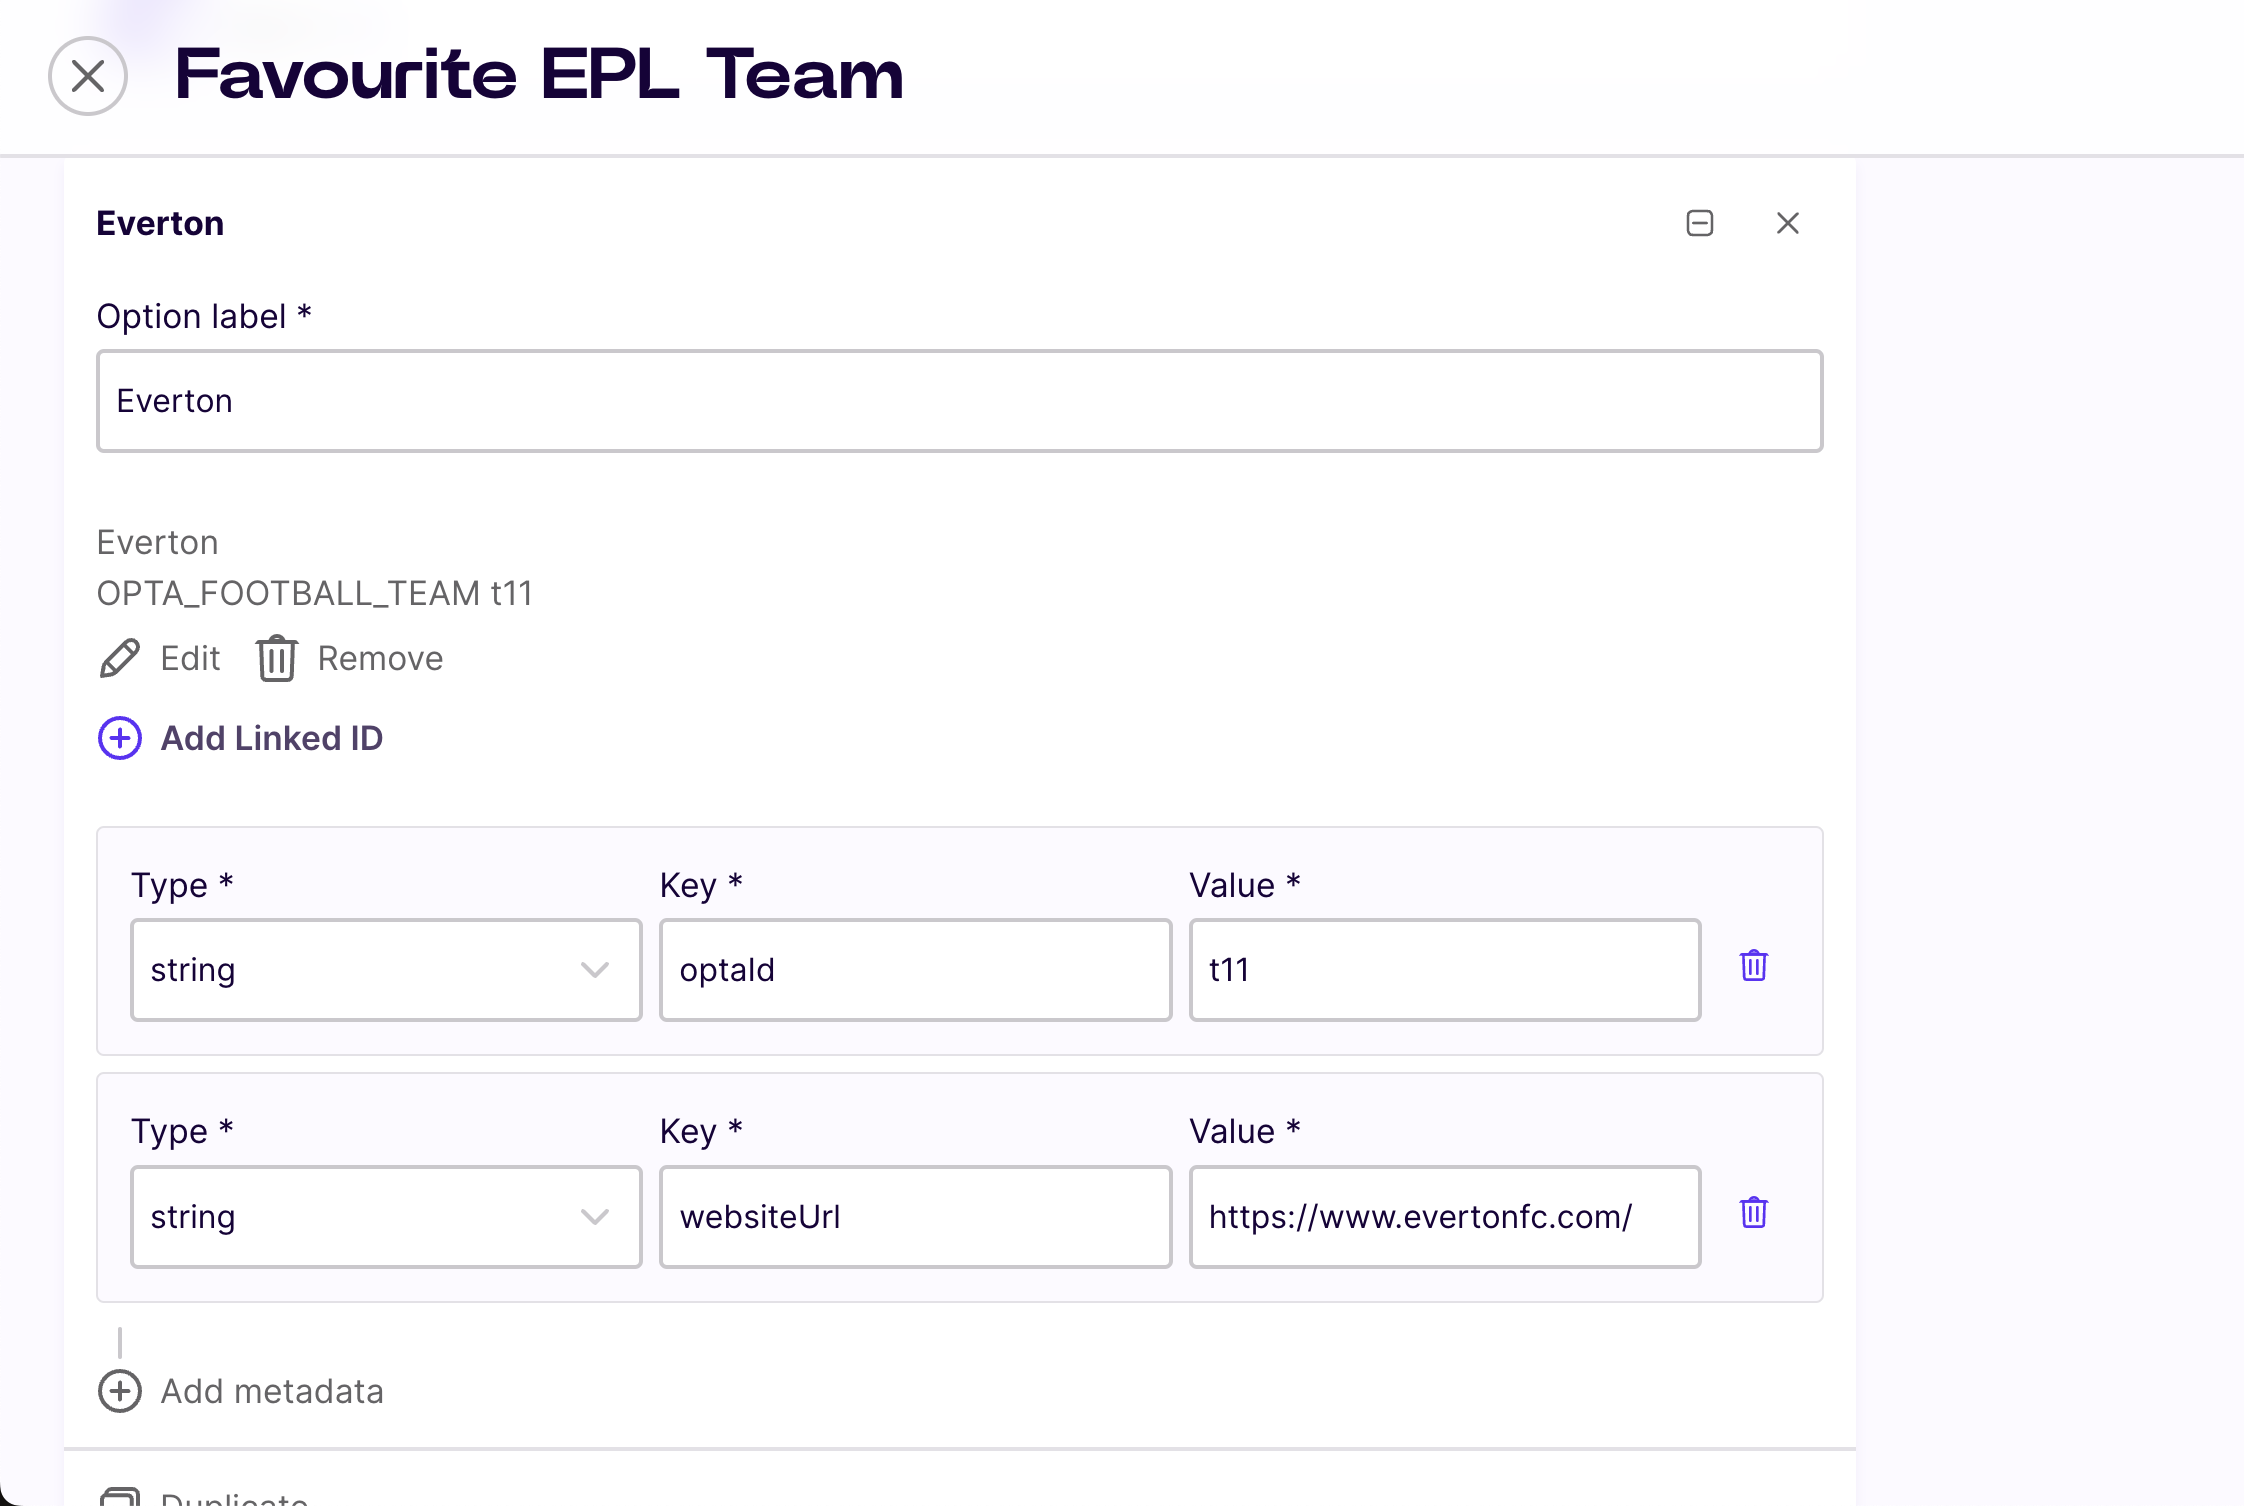
Scrolling down, you can add preference Options, Linked IDs and metadata in the form of key-value pairs for use in your own use cases. For example, in the screenshot below, data on Everton football club is being drawn from Opta using the Linked ID, and the metadata options are being used to make the club’s website URL available as an item of usable data.

Fan manager
Fan manager provides an interface to the individual fan’s data.
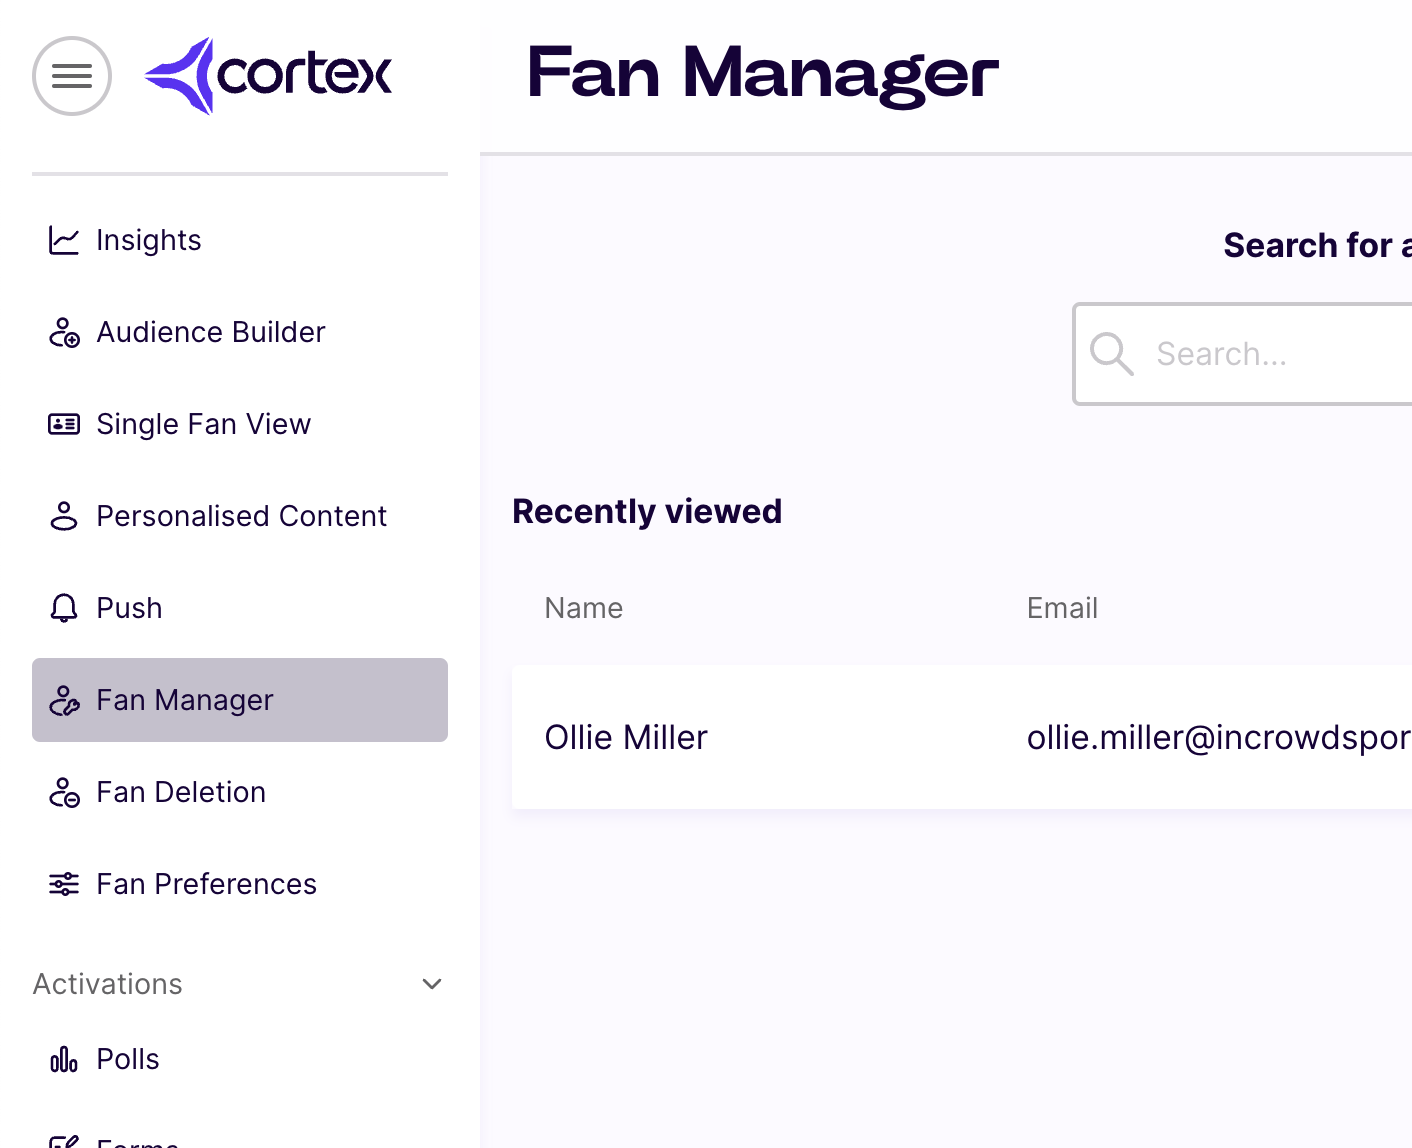
- In the menu down the left-hand side, under the Data & Marketing tab, select Fan manager.

Click the row entry for the fan you wish to edit. If there are many fans listed, use the search facility to filter by user name, email address or user ID.
- You are presented with the fan’s profile.

- The interface lets you view and edit a fan’s profile data, including personal details, preferences, entitlements, linked accounts, ticketing information, device data, opt-ins/opt-outs, and more. All fields and values shown in the interface correspond directly to those used in API calls and reflected in the JSON responses.
Updated 8 months ago
